CN
-
Service Hotline
15766086363


Release Date:Mar 05, 2026
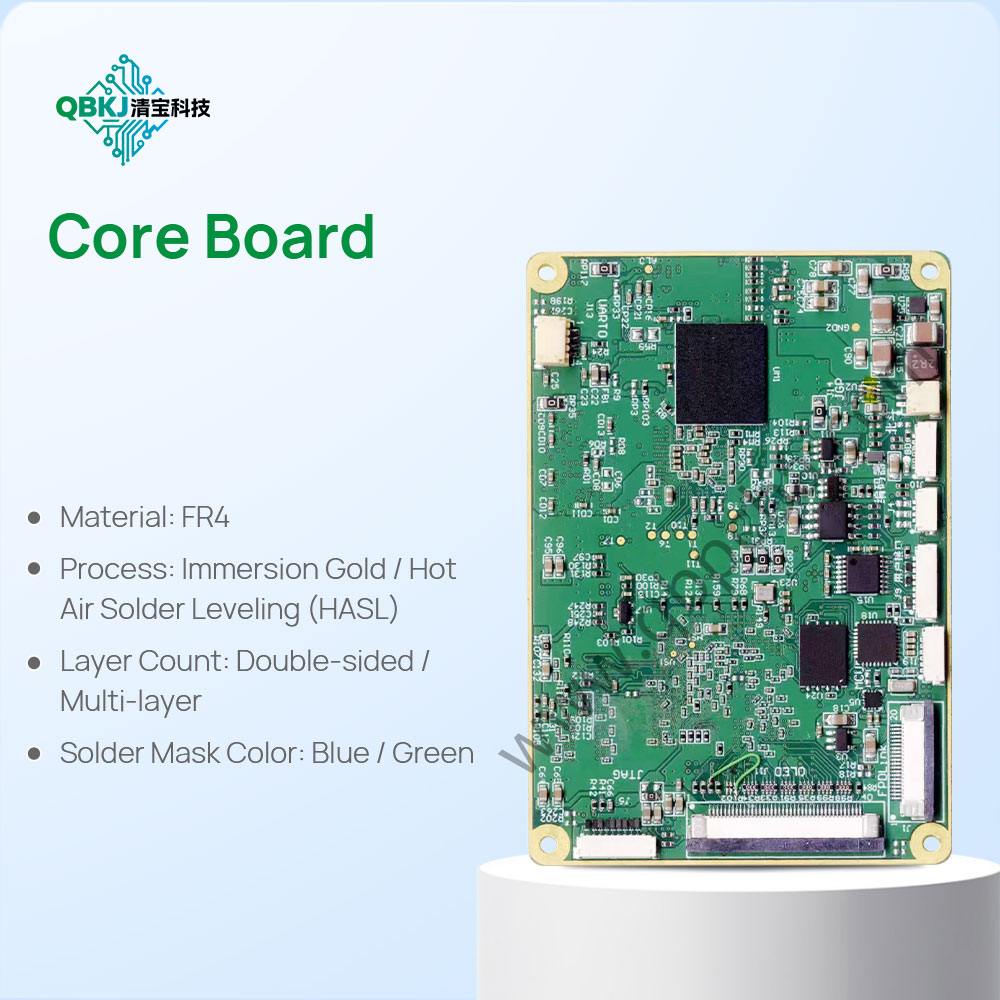
Reverse PCBA Schematic combines reverse PCB schematic (electrical connection logic of the bare board) with component-level electrical analysis of a Printed Circuit Board Assembly (PCBA) — integrating the functionality of populated components (e.g., ICs, sensors, transistors) to create a complete, functional schematic diagram. Unlike reverse PCB schematic (which relies on footprints), PCBA schematic reverse engineering uses the actual components on the board to confirm values, pin functions, and circuit behavior, ensuring the schematic accurately reflects the PCBA’s electrical operation.
The process begins with Component Documentation & Testing: Each populated component on the PCBA is documented — part number, manufacturer, and package type — via visual inspection (using magnifiers for small SMD parts). Active components (e.g., microcontrollers, op-amps) are tested with an oscilloscope or logic analyzer to confirm pin functions (e.g., which pin is a clock input, which is a data output). Passive components (e.g., resistors, capacitors) are tested in-circuit (or desoldered if needed) to measure their actual values (e.g., a resistor labeled “102” is confirmed to be 1kΩ).
Next is Electrical Connection Tracing: Building on reverse PCB schematic steps, technicians use circuit tracers to map connections between component pins (not just footprints). For example, a sensor’s output pin is traced to a microcontroller’s analog input pin, and a capacitor’s leads are traced to a power rail and ground — these connections are recorded in the schematic, with component values labeled (e.g., “C1: 10μF/16V”).
Then comes Schematic Integration: The component values and pin functions are integrated into the reversed PCB schematic. For complex components like microcontrollers, datasheets are used to label functional pins (e.g., “MCU_UART_RX”) and integrate internal blocks (e.g., ADC, timer) that interact with external components. Signal paths (e.g., from sensor to MCU to output) are clarified with net labels and block diagrams if needed.
Finally, Functional Validation: The completed schematic is validated by testing the PCBA’s operation (e.g., applying a sensor input and verifying the correct output) and comparing it to the schematic’s logic. If discrepancies are found (e.g., a resistor value that doesn’t match the schematic), the component is retested and the schematic adjusted. Challenges include decoding proprietary ICs (with no public datasheets) and tracing high-speed signals (e.g., PCIe) that require specialized tools. This process is critical for repairing PCBA faults, modifying functionality (e.g., adding a sensor), or understanding competitors’ product designs.
Email: 1330695973@qq.com
Factory: Room 703, Kelunte R&D Building, No. 1 Ganli 5th Road, Jihua Street, Longgang District, Shenzhen City